
Ways to Learn Photography in Toronto: An Honest Comparison
People often ask me whether they should take a course, hire a tutor, or just watch videos. I teach photography in Toronto, so I’m not exactly neutral, but I’ve tried to answer that honestly here: what each way of learning does well, where it falls short, and who it suits.
The short version: no single option does it all. Books, online courses, and videos are great for understanding the concepts, and plenty of them are free. What they can’t do is look at your camera or your photos, and that’s where most beginners get stuck. A few hours of hands-on teaching early on, with someone correcting you while you shoot, will save you weeks of guesswork. After that, it’s practice, practice, practice.
On this page: Which route fits you · The fast track · Side by side · What I’ve learned · Each option up close
Which route fits you?
Start with a good book or a structured online course for the concepts, and use videos to fill in the gaps. Then book one hands-on session early, with your own camera, so someone can sort out the buttons and menus a book can’t.
Get in-person help up front, then shoot as much as you can. I’ve laid out a fast track below.
Go with a private tutor or a small-group course where you’re shooting within the first hour. Most other options explain first and leave the practice to you.
What you need now is critique. Find a course that includes it, book a portfolio review with someone whose work you admire, or join a camera club.
College programs are comprehensive, albeit slow, and they’re great for networking with up-and-coming peers. Alternatively, try to assist a working photographer or two. Who you know and your business savvy matter more than pure skill.
Studio lighting, wildlife, and portraits are hard to learn from a screen. A small-group workshop or a tutor who can set things up alongside you will get you there faster.
Your local library has photography books. YouTube is free if you give yourself a curriculum instead of clicking whatever comes next. And camera clubs cost very little and give you feedback.
The fast track for beginners
Learning fast comes down to two things: getting unstuck quickly, and shooting and reviewing your photos over and over.
The fastest route
$$ to $$$
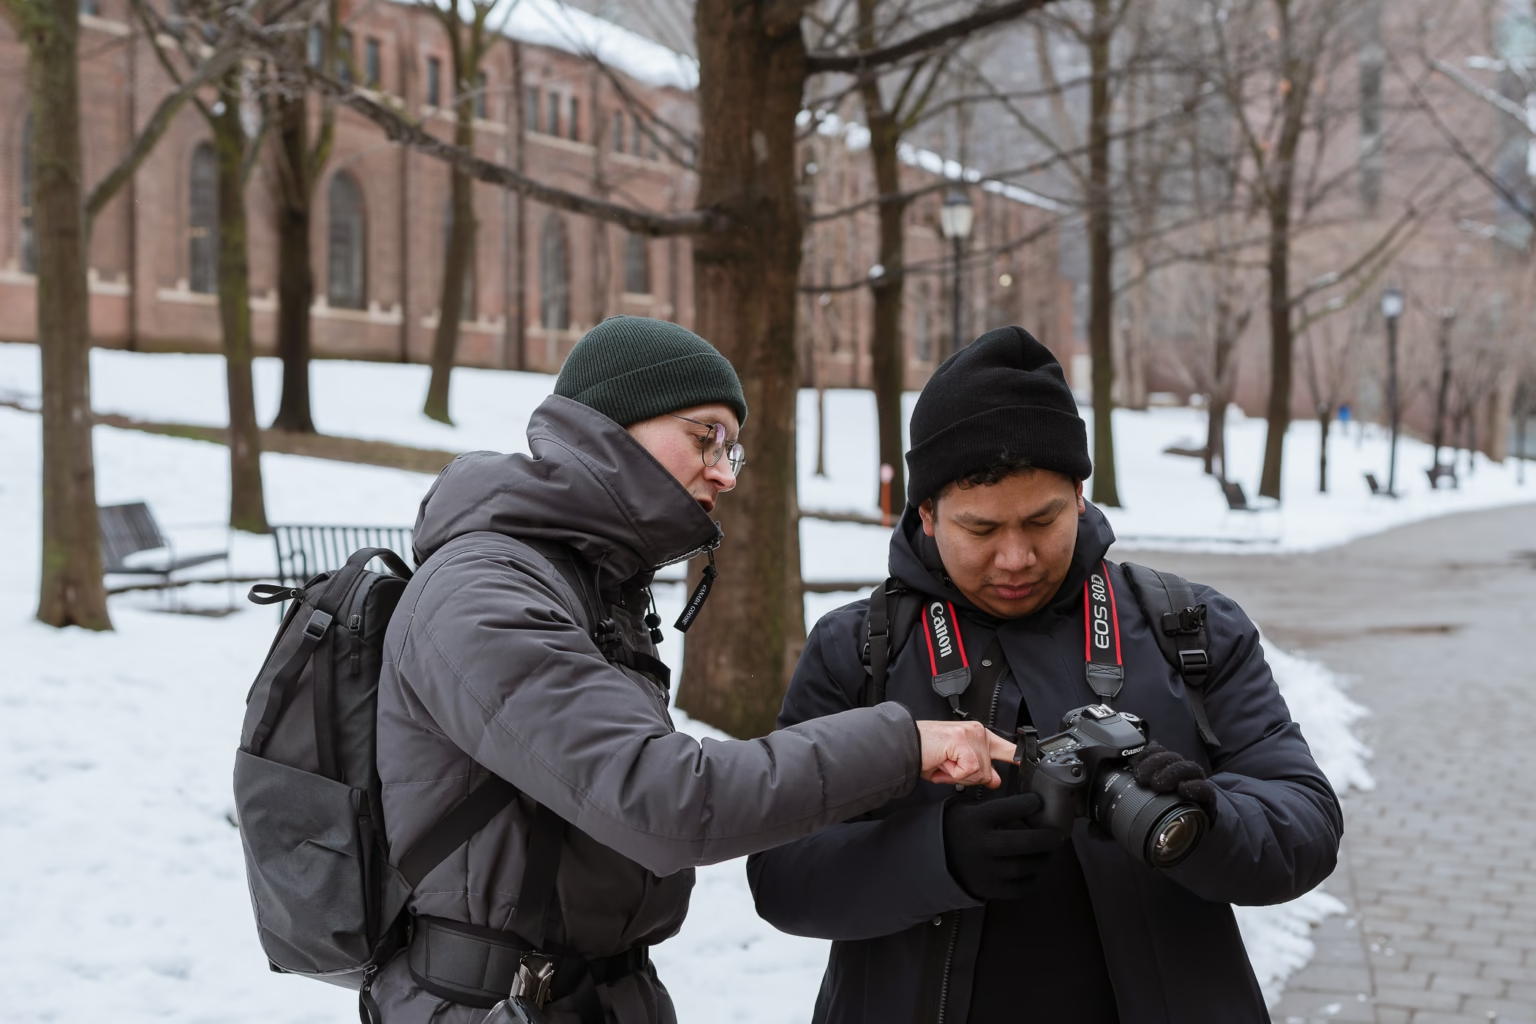
Book two or three private lessons, or a beginner weekend course. Private lessons cover more ground per hour. A weekend course gives you more shooting time and other people to learn alongside.
Shoot every day for the next few weeks, with one goal at a time. Spend a week on aperture and depth of field, then a week on shutter speed and motion, then move on to light.
About a month later, book a follow-up session or have someone review your photos, so bad habits get fixed before they stick.
Fast, on a budget
$ to $$
Pick one short online course or one good beginner book and finish it within a week or two. One source you complete beats five you dabble in.
Early on, take one camera-store workshop or a single private lesson with your own camera, to get past the button and menu confusion.
Shoot every day with the same weekly goals, and get feedback from a camera club or an online critique group.
What to skip
- College courses. They’re thorough, but too slow if speed is what you’re after.
- Endless YouTube browsing. It feels productive, but it rarely teaches things in the right order. Use videos to answer specific questions.
- New gear. At this stage, practice will do far more for your photos than a new lens.
Realistic expectations
Most people can handle their camera and nail exposure within a few weeks. Composition and developing an eye take months no matter which route you choose, though good feedback speeds that up a lot.
Side by side
The darker the cell, the more of it you get. On a phone, swipe the table sideways.
Cost: $ is free or close to it, $$ is under a few hundred dollars, $$$ is several hundred to a couple of thousand, and $$$$ is a multi-thousand-dollar commitment. Hands-on practice is how much of your learning time is spent actually shooting. Real-time help means someone can get you unstuck on the spot. Flexibility means you learn on your own schedule.
What I’ve learned from teaching
The technical stuff comes quickly. Learning to see takes longer. Just about any option can teach you exposure, focus, and how to work your camera. Composition, editing, and your own style mostly improve through critique.
Understanding a concept and working your camera are different problems. If an explanation doesn’t make sense, find another one. But if your camera is doing something weird, you usually need someone to look at that exact camera.
What you need changes as you go. Early on, you need someone to get you unstuck, because there’s so much to figure out. Later, once you’re comfortable but no longer improving, you need feedback.
Speed comes from help and practice. Paying for in-person help early gets you through the slowest part. But nothing replaces getting out and shooting often.
The teacher matters more than the format. A great workshop instructor can beat a mediocre college one, and a good book can beat a bad course.
Each option up close
College course
The good: Regular critique, deadlines, access to studios and gear, classmates, and a credential if you need one.
The catch: It’s expensive, the schedule is fixed, and the curriculum may not match what you actually want to learn.
Camera-store workshop
The good: Inexpensive, hands-on time with your own camera, beginner-friendly, and a good way to meet other local photographers.
The catch: Short and often general, and sometimes there’s a sales pitch attached. Look up the instructor’s work first.
Online course
The good: Well organized, self-paced, and you can rewatch lessons as often as you like.
The catch: Easy to abandon halfway, and you won’t get feedback unless critique is built in. The ones that include assignments and critique are worth paying more for.
Online video
The good: Free, up to date, lots of teaching styles, and you can watch someone actually do the thing. Especially good for learning editing software.
The catch: Nobody curates it, the advice contradicts itself, and a lot of it is about gear. Some creators do have playlists that work like free courses.
Books and guides
The good: Carefully edited, thorough, cheap (or free at the library), and the fundamentals never go out of date. Photo books are also great for training your eye.
The catch: There’s no one to ask questions, and anything about software or specific cameras dates quickly.
Private tutor
The good: Built around you. A good tutor explains things until they click, works with your camera and your photos, and gets you past the early hurdles fastest.
The catch: It costs more, good teachers can be hard to find, and you only get one person’s perspective. A few well-planned sessions often give you most of the value.
Small-group weekend course
The good: You’re immersed, practising in real locations with an instructor right there and other students alongside you. Beginner weekends are a fast start, and specialized ones suit people who know the basics.
The catch: It’s short, the dates are fixed, and you may have to travel.
Peer communities
The good: Clubs, forums, and Discord groups are ongoing, cheap or free, give you lots of perspectives, and keep you motivated. Clubs with critique nights or assignments are some of the best value around.
The catch: Feedback quality varies a lot, praise tends to be vague, and groups can end up all shooting the same way.
A few more things worth knowing
- Give yourself a project. A photo series, a 52-week challenge, or documenting your neighbourhood will probably do more for your progress than whichever option you pick.
- Thinking of going pro? Assisting a working photographer is one of the best ways in, though the pay is usually low, if there is any.
- AI chatbots are handy for re-explaining a concept or finding a setting in your camera’s menus. They can’t see your camera, though, and they do get details wrong, so double-check with your manual.
Before you pay
Read reviews from past students. Ask how much of the time you’ll actually spend shooting, and what kind of feedback you’ll get on your own photos. Great photographers aren’t always great teachers, so what students say tells you more than a portfolio.
About me
I’m Paul Kounine, and I teach photography in Toronto through Exposure Therapy. Small-group weekend courses and private lessons are what I offer, so take my opinion with that in mind. I’ve done my best to call each option as I see it, mine included.